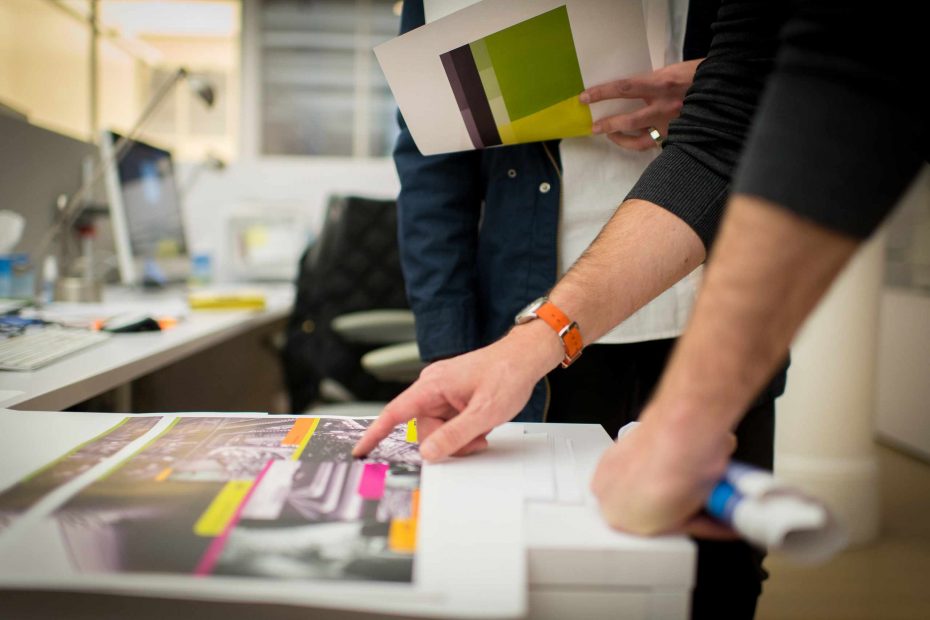
The picture you’re viewing on the screen at full size and brightness looks sharp. Yet the edges, details, and texture are soft, blocky, or uneven in the printout. The screen image is simply the number of screen pixels (set at a specific zoom), whereas the printed image is a fixed amount of the image data set down on a fixed size. Even if the screen image looks sharp, once you stretch the image beyond its pixel capacity, a sharp screen does not bring back lost detail.
Image resolution really only matters relative to a final image print size. For example, your image file may have enough pixels for a business card but not enough pixels to cover an 11×17″ page. In design, it’s often easier to check the effective DPI of the image. If you enlarge an image in a layout, its effective DPI decreases because the pixels are being spread over more space. If you reduce an image, you’ll increase its effective DPI, which will usually result in tighter detail.
Check one photo before you do the whole layout. Put the same picture in three equal boxes and display the picture at small size, medium size, and large size. Do not rely on looking at the image data by itself, but instead look at its effective resolution for each size. Save your page as a high-quality PDF, and then print a real-life size sample. You’ll see the difference more clearly when there are fine lines, hair, fabric textures, small text, and tight edges, rather than just sky or areas of a solid color.
In addition to resolution and size, there are other reasons why an image might look soft and even if the pixel dimensions seem fine. If the picture uses strong JPEG compression, you can often see pixel blocks around image edges and gradients. Repeatedly saving and reloading the same JPEG file can make the problem even worse. If you take a screen capture, the resulting image pixel size may be unsuitable for a specific trim size. When you take a preview image from a website, the image may be much smaller than you thought because the file looks the same size as the original image on the screen, but it’s actually not that big a file in pixels.
The image itself may also have been slightly blurred or even intentionally blurred by camera movement or by using an aggressive noise-reduction setting in Photoshop. Increasing the DPI in Photoshop will not magically add detail to the image, it will only add extra pixels to the image using estimated values. You can increase the sharpening in Photoshop, and this can look better. The downside of using excessive sharpening is that it makes hard, shiny edges and rough surfaces. Start with a larger image in good quality and set your image properly at the right size in your page layout.
PDF settings should also be double-checked. When you export, you may be downsampling the image and heavily compressing the image file to reduce its size, depending on the preset. Even if the text (fonts) and other graphics (vectors) stay sharp, the soft image will be easier to notice. Export one PDF, check another, then zoom them to the same size to compare the image quality and file sizes. Also find out what size, resolution, compression, and color settings your commercial printer needs instead of simply printing the largest and smallest PDF file.
Finally, check the image size based on your physical size requirements. It’s easy to get used to checking image size at 300, 400, 500 percent, or even 600 percent size in design and print programs. Check a hard copy at eye size in order to see how the image really looks. If the image edges stay clean, if the tiny details remain in focus, and if you don’t see the image pixel blocks from a regular viewing distance, the photo will serve its intended purpose.